https://medium.com/@hitherejoe/building-a-guitar-chord-tutor-for-google-actions-part-one-975e4f855e58
https://medium.com/@hitherejoe/building-a-guitar-chord-tutor-for-google-actions-part-one-975e4f855e58
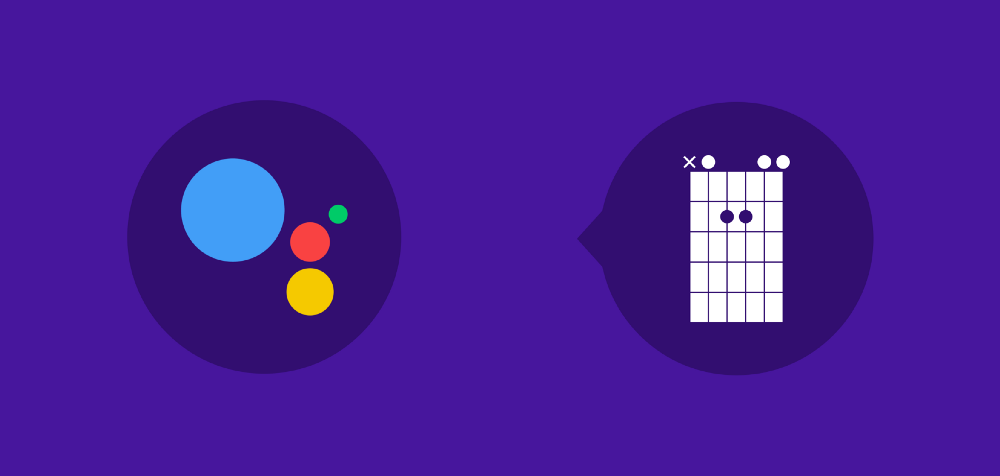
In part two, we’re going to be taking a quick look at how we can leverage parts of the Actions SDK to cater for visual conversational response using what are known as rich responses. We’ll be using rich responses to show the user a visual representation of a guitar chord if the device in use supports visual elements when Actions are being interacted with.
One of the cool things about the Actions SDK is that it allows us to create conversations that are suitable for the device that it is taking place on. For example, the Google Home only has a speaker / microphone — so we can only converse with the user via audio input and output. Whereas on the other hand Actions are also available on Android smartphones, where we have the addition of a display — meaning that we can make use of this to provide a more engaging conversational experience.
Because of this, we have two different kind of experiences that we need to cater for — luckily for us, the Actions SDK provides what are known as Rich Responses which allow us to cater for the on-screen experience.
Introducing Rich Responses
A rich response allows us to display some form of visual content on screen to the user, this is useful for situations where conversational actions are being used on a device that has a screen. This allows us to display components such as cards (cards can be used to display images alongside text to provide greater context for the response being given), chips (further optional choices the user can take related to the response given) and also lists/carousels of other forms of visual content.
For Fret, we’re going to be just using one form of rich response in the form of a card. This card will allow us to display an image of the chord to be learned, alongside the text that we were previously reading out to the user. This looks a little something like this:

For this, we’re going to use what is known as a Basic Card — this kind of rich response allows us to display a title, image, sub-title, body text and a link button to the user. We don’t need to use all of these components within the basic card, but we should provide enough content for the user to provide the best conversational experience that we can.
Before we show this card, we need to begin by checking that the device in use supports the output of content to a screen (i.e the device has a screen). We can do this by checking that the device supports SCREEN_OUTPUT, like so:
if (actions.capability.SCREEN_OUTPUT) {
}
Next, we can use the buildRichResponse() — this returns us an instance of the RichResponse class which is essentially the response object which will be returned to the user in the conversation. What we want to do here is make use of the classes addBasicCard() method so that we can add a card for our content to the Rich Response.
When we call the addBasicCard(), method we need to pass in an instance of a BasicCard, so we’re going to kick off this process by making use of the SDKs buildBasicCard() method create an instance of this class. The BasicCard class has a collection of methods which we can use to add our content to the object.
For our chord response you can see that we display a few different pieces of content:
- The title — For the title we simply use the BasicCard classes setTitle() method to assign our given title to the card, which in this case is the name of the chord.
- The chord image— For the image of the chord we use the setImage() method from the BasicCard class, which takes a String url for the image which we wish to display. I’ve created an image for each of the chords, they can be found in the Github repository here.
- The description — The buildBasicCard() method takes a String parameter which is assigned to the body text of the card. So here we simply pass in the instructions on how to play the chord.
And when put all together, this looks like so:
https://gist.github.com/hitherejoe/79d1d21df44a0639937c3b103a721d7a
This can also be found in the Github repository here.
As you can see from this, showing a simple visual response to the user doesn’t take much code. The buildString() method used here had already been created during part one (for the voice response), so for visual feedback all we needed to do was create some chord images for display with the chosen chord. Here is what the rich response looks like when we run the sample on the simulator:
Conclusion
Adding a visual response for the chords has allowed me to show a simply example of how we can show Rich Responses to users with our actions. There is plenty more than you can do with Responses and the actions SDK so I suggest you read more here if you want to know more! https://developers.google.com/actions/assistant/responses
Stay tuned for following articles if you wish to follow along on where this goes next!