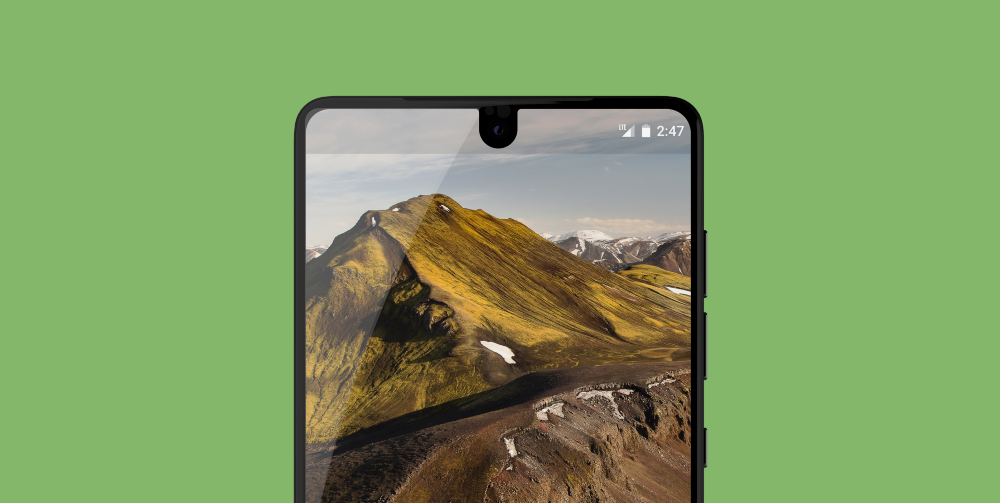
Devices such as the iPhone X and a couple of Android devices have begun making use of ‘notches’ within the display area. In Android P these are called Display Cutouts and we have access to an API that allows us to control how our window is laid out when these display cutouts are present. You can go ahead and run and Android Emulator running android P, head into the developer settings and set three different display cutouts on the device emulator:

Now, the emulator only allows us to add display cutouts that are positioned at the top of the window. In most cases this may not be an issue, as you can see from the screenshot these cutouts do not extend past the status bar — so they’re not overlapping with any of the application content. However, it’s not entirely clear if this will always be the case — device manufacturers may add cutouts areas that are positioned and/or sized differently, meaning that they may extend past this status bar area within our window.
There is now a window layout attribute that allows our application to layout our screen content around the cutouts of the device screen. This is known as layoutInDisplayCutoutMode. We can apply a value to this property by accessing the layout parameters of our content and setting the layoutInDisplayCutoutMode property.
val params = window.attributes
params.layoutInDisplayCutoutMode =
     WindowManager.LayoutParams.LAYOUT_IN_DISPLAY_CUTOUT_MODE_ALWAYS
This property can be set to one of three values:
Default display cutout mode
The first value which we can assign to the new window layout attribute is LAYOUT_IN_DISPLAY_CUTOUT_MODE_DEFAULT . This value implies that the current window is allowed to automatically extend into the cutout area of the display, given that the cutout is completely contained within the status bar — meaning that it has to be at the top of the screen and be no taller than the height of the status bar. If this does not hold true then the window will be laid out in way that does involve any overlapping of the window content with the cutout area.
Note: Setting FLAG_FULLSCREEN or SYSTEM_UI_FLAG_FULLSCREEN whilst this default value is being used will remove the ability of the window extending into the cutout area.
Always overlap with cutout

The next value that can be set isLAYOUT_IN_DISPLAY_CUTOUT_MODE_ALWAYS . This will mean that the current window is always allowed to extend into the given Display Cutout area, regardless of whether the device is in landscape or portrait mode. If we set this mode, it is our responsibility that no important content is overlapped by the display cutout.
here, the layout containing the video player extends into the area of the cutout, giving us a fully immersive experience.
Never overlap with cutout

The final value that we can set isLAYOUT_IN_DISPLAY_CUTOUT_MODE_NEVER . This declares that the window is never allowed to overlap it’s content into the area of the display cutout.
You can see here that we have wasted window space at the top of our layout. This is because the layout for the video player was not allowed to extend into the area of the display cutout.
Aside from that, we also now have access to a new class, DisplayCutout. This class is used to represent a part of the display which is not able to be used to display any content. I imagine this class may come in handy for when display cutouts are not contained within the status bar, as then we can check the bounds of the cutout area to determine if important content is going to be overlapped by the cutout. In which case, we could need to adjust the positioning of the content or the way in which the window is laid out.
We can retrieve an instance of the DisplayCutout class from the window insets of our view. This can be retrieved by setting a window insets listener:
container_connect.setOnApplyWindowInsetsListener { v, insets ->
val displayCutout = insets.displayCutout
    // do stuff with display cutout
    insets.consumeDisplayCutout
}
This class has several methods which we can use to determine safe areas:
- getBounds() — Returns us an instance of a Region containing the bounding region of the cutout. We can use this instance to retrieve the path Path or Rect bounds to determine positioning on the screen
- getSafeInsetBottom() — Return the bottom inset which is will allow our content to be outside of the display cutout region.
- getSafeInsetLeft() — Return the left inset which is will allow our content to be outside of the display cutout region.
- getSafeInsetRight() — Return the right inset which is will allow our content to be outside of the display cutout region.
- getSafeInsetTop() — Return the top inset which is will allow our content to be outside of the display cutout region.
All of these available methods can be used to check the visibility of our content and make alterations if required.
Going back to the WindowInsets class — since API 21 we have had access to a consumeStableInsets() method, this is used to return a copy of the instance with stable insets consumed. As of Android P we have a new method consumeDisplayCutout() which allows us to retrieve a copy of the insets instance with the cutout area consumed.
As I mentioned, it is still early days but hopefully this gives a bit of insight into how we can work with Display Cutouts with Android P to create experiences that are fully immersive, whilst also ensuring important content is always visible to the user. I am hopeful that device manufacturers are creative with device cutouts but at the same time don’t go over the top with these cutouts, but I guess that will make for some fun development sessions if so 😀