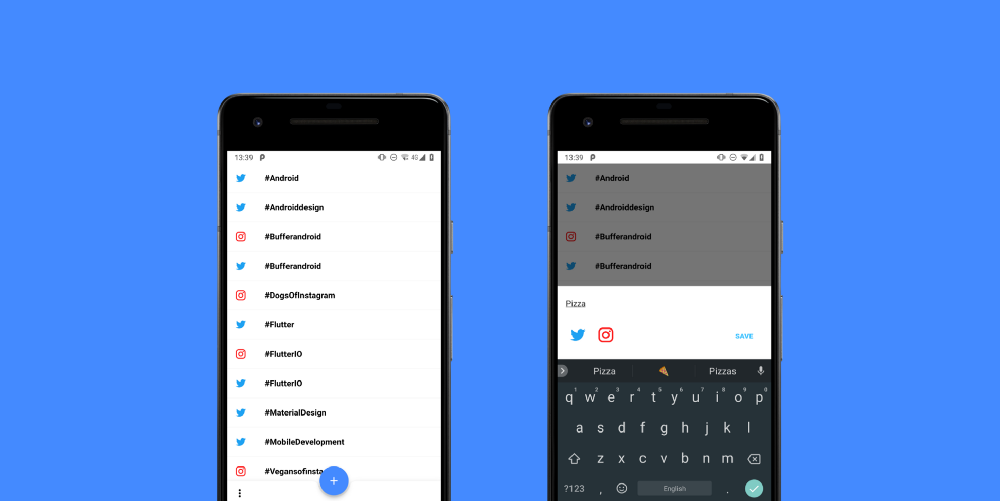
- Setup a Flutter project within Android Studio
- Explore, create and use a collection of screens and widgets for application
- Setup an authentication flow using Firebase Auth
- Save, retrieve and manipulate data using Firebase Firestore
- Theme our application
- Localise our application
- Handle different platform widgets
- And much more!
Whilst the application concept may seem fairly simple, it has enough context to provide us with a way to explore many different areas of Flutter. We’ll also start from the ground up, get things built and then revisit parts of our application to improve them. This will allow us to quickly build something with Flutter and then learn from what we’ve done during these revisits.
With that said, let’s take a few minutes in this first post to get our application setup within Android Studio.
Before we can get stuck in with the coding for our project we need to create an Android Studio project so that we can get to work! When you open Android Studio you’ll notice that you’ll be presented with the welcome dialog, from here you need to select “Start a new Flutter project”:

Next you’ll be presented with the “New Flutter Application” window. Here you need to give your project:
- A name (lower case with no spaces, you can use underscores though)
- Define the Flutter SDK path. If you don’t have the SDK yet then you will need to install this here
- The location where your project is to be saved
- A description for your project (not required but is helpful to fill in!)

When we hit next we will be taken to the second section of the New Flutter Application process where we will need to provide:
- The company domain
- The package name for our application (By default this will use the company domain reversed, followed by the project name)
- Selections for any support of other languages (kotlin / swift)

Once we hit finish here you’ll notice we are presented with a new project and within this project will be a main.dart file. We’re going to begin by deleting this file as we’re going to write our own from scratch in the following articles. Within the file explorer you can right click on this, select Delete, followed by OK when presented with the deletion dialog.
The last thing we are going to do to setup our Flutter project is add the required dependencies that we will be using in our application:
firebase_auth: "^0.5.7"
cloud_firestore: "^0.6.3"
google_sign_in: "^3.0.3"
url_launcher: "^3.0.2"
You’ll see above that we’re adding:
- Firebase Auth — This will be used to handle the authentication of our users
- Firebase Firestore — This will be used to handle the storage of the hashtags that the user will add to our app. We could save them locally, but Firestore means they will be accessible across devices.
- Google Sign-In — This will be used in conjunction with Firebase Auth. Rather than providing an email or social sign-in, the user will simply use their devices Google account to sign-in to our application. The details of this Google account will then be passed to Firebase for the authentication flow.
- URL Launcher — This will be used to handle the launching of the URLs for the hashtags that will be stored within Firestore. When a Twitter / Instagram hashtag is clicked we want to open the corresponding hashtag in the given social network.
Now that we’ve added our dependencies our project is all setup and ready to go!
That’s all we’re going to be covering in this weeks article. Whilst short, I just wanted to take a moment to introduce the series and also get setup with the project. Stay tuned for the next post where we will be creating the Sign-in screen for the application!

